Install the ISVapp Managed Package
ISVapp comes with a security reviewed Salesforce Package that allows you to display important information directly in Salesforce. It only takes three simple steps to get started:
Table of contents
Step 1: Install the ISVapp Managed Package
You can start the package installation dialog directly from our website. Head to isvapp.com/start and press the "Install the ISVapp Managed Package" button. You will need to login to your Partner Business Organization and complete the install dialog.
During the install dialog select "Install for All Users" or grant the respective profiles "Full Access". After confirming the install you will have to grant our domain "Third-Party Access" so that we can receive your data.
Step 2: Complete the ISVapp Onboarding Wizard
Open the ISVapp application via the app chooser. It will automatically launch the onboarding wizard and guide you through onboarding.
Step 3: Add the ISVapp Lightning Component to the Account Page Layout
This guide explains how to configure the ISVapp Account component on the Account detail page.
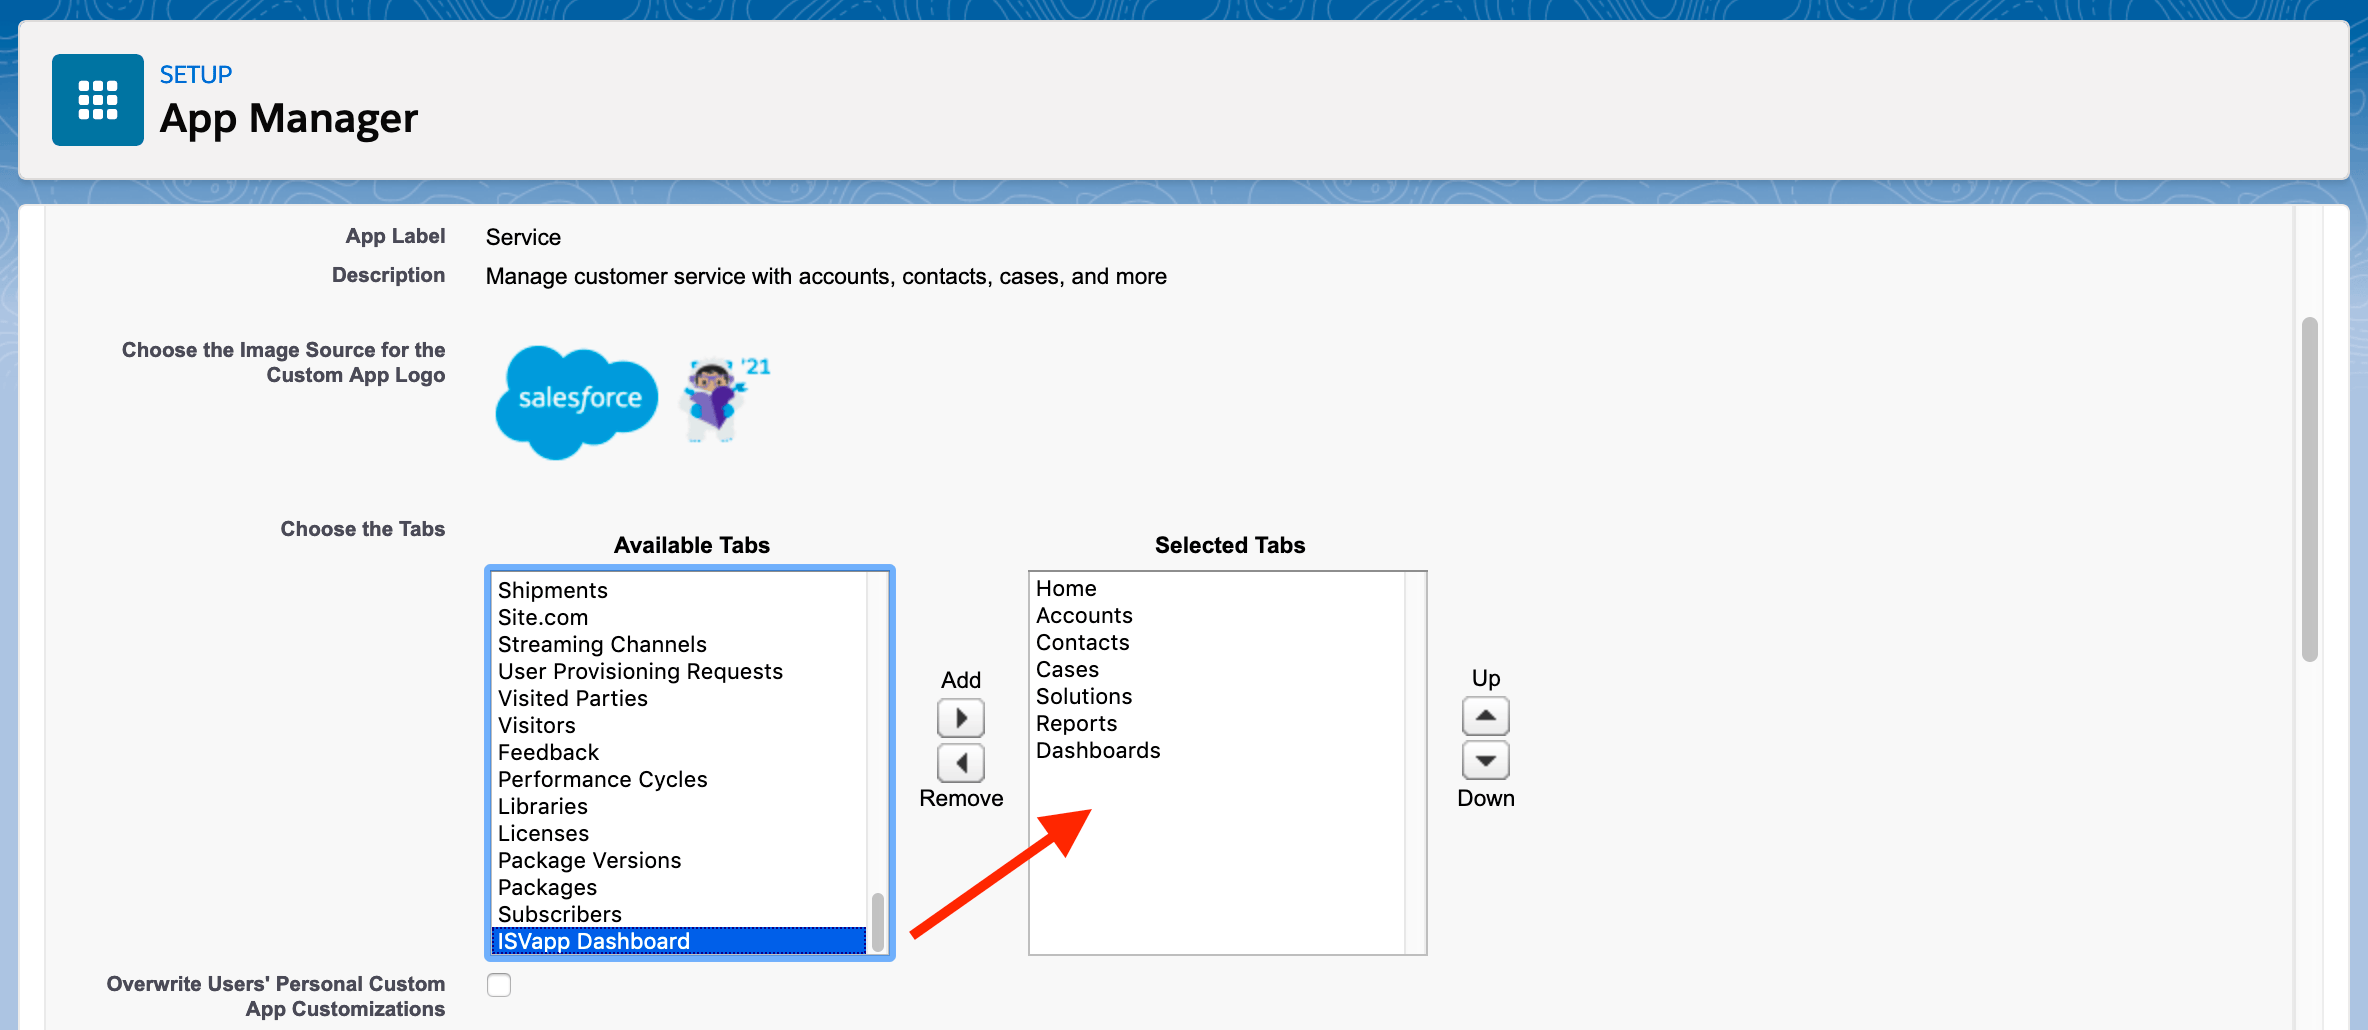
Optional: Add the ISVapp Dashboard Tab
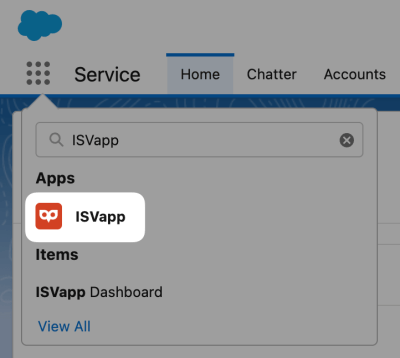
You can access the "ISVapp Dashboard" tab through our Salesforce App, the app chooser or add it to an existing App:
Head to "Setup - App Mananger" and edit the App that you would like to adjust
Add the "ISVapp Dashboard" in the Tabs section